Here is looking forward with the bulkhead in place. Note the model steam launch in the background. That's another project I need to add to my web pages someday.
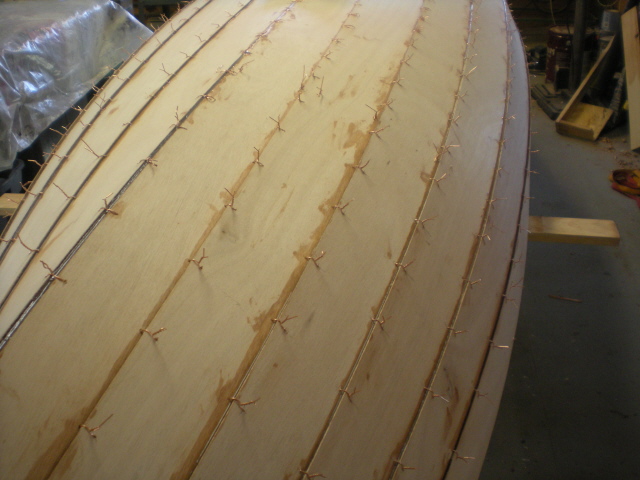
Next we turn the boat upside down and apply a fillet of glue into all the seams, but try not to glue the wires in place. We used a big plastic syringe to apply the epoxy and thickened it with the cab-o-sil to a mixture just thick enough to stay in place.
Here is a closer view of the hull with the wires and the epoxy in the seams.
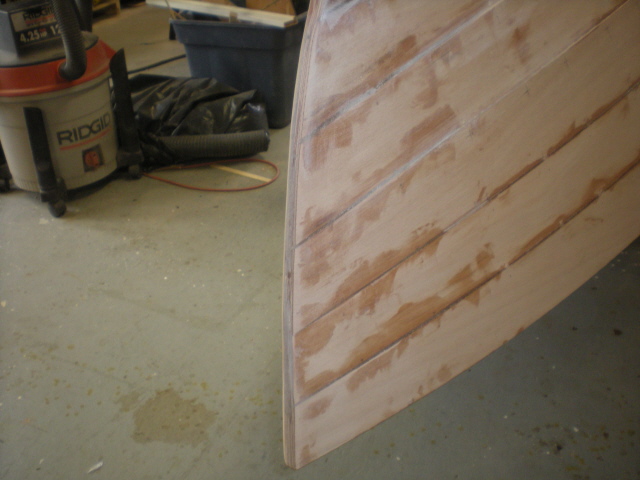
Here is a close up of the bow that shows how the planks come together into a single plane because of the gains cut into the plank edge
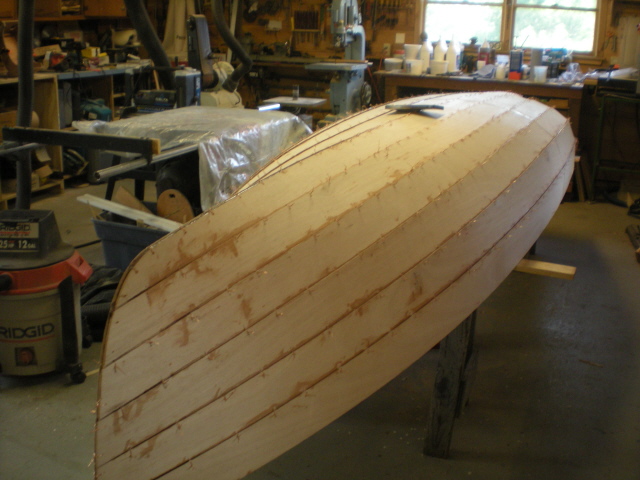
Next we pulled all the wires out of the first plank, and its overlap to the second plank. A strip of fiberglass cloth is laid on the bottom planks and epoxy applied over it. We laid the cloth on the dry wood and rolled the epoxy on over it with a 3" foam roller. I was very pleased to how well this worked- the important point is to get just enough epoxy on to wet the fabric, but not enough to float it up off the wood.
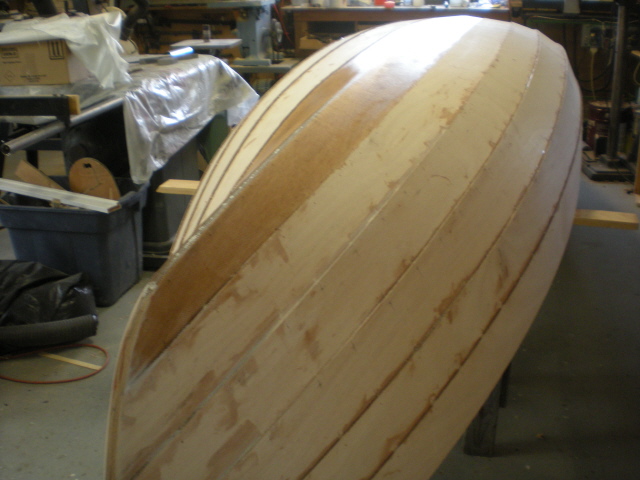
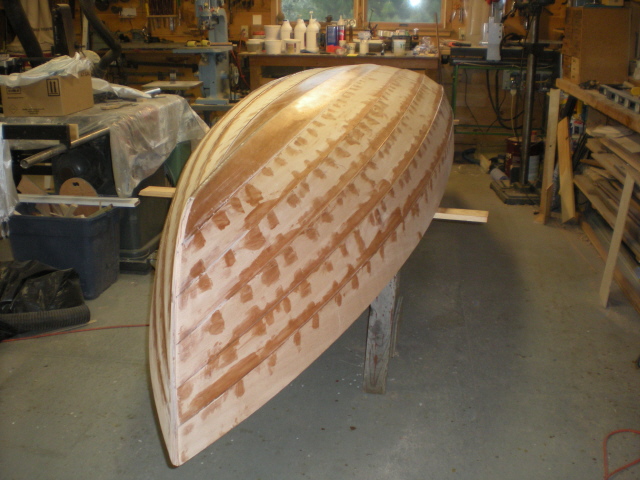
Once the bottom epoxy is cured all the remaining wires are pulled out and all the holes filled with an epoxy and wood flour mix. Here the entire outside of the hull has had all the joints filled smooth and sanded. We then applied a strip of fiberglass cloth down the stem, and a triangle on the stern covering the lowest 3 planks about 2 feet along the keel.