Assembly and running

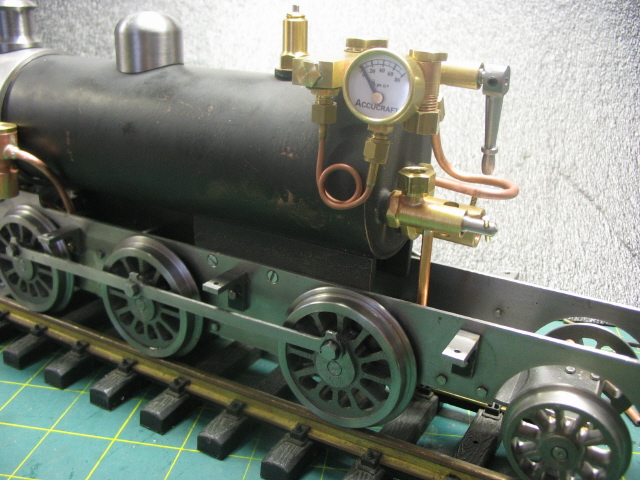
I scrapped the simplex type water gauge and went to the common glass tube type. Its a short glass but it will be enough.

I had to stop work on Mona and build a CNC controller, then drive to Detroit to install it, then to the Cabin Fever show in York PA. I really wanted to have Mona ready for the show, but I didnt make it.

When I returned home I was able to finish the burner and tank. The burner worked, and did make enogh steam to run, but barely. I decided the gas jet was to small and spent a couple days trying to make a new jet- I could get it oversize, and undersize, but never hit it just right. Finally I found a hardware store with replacement tips and jet for Bernz-O-matic torches. I had to make a new burner end to fit the threads, but I got one together and on Monday afternoon, Jan 30, I had steam up and ran the engine in the shop.

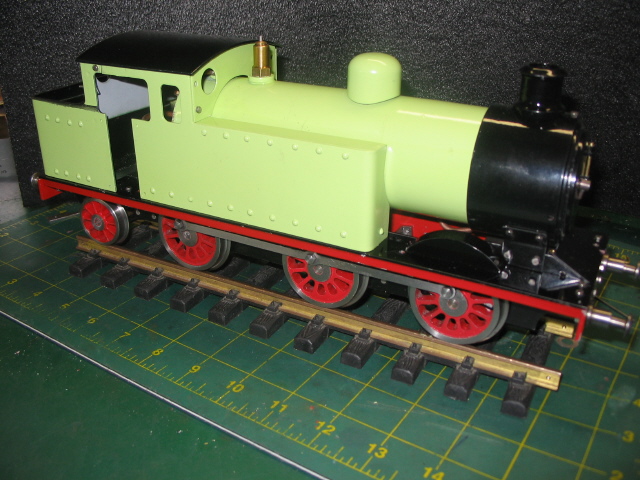
Here is the complete loco, ready to run, and ready to start painting.

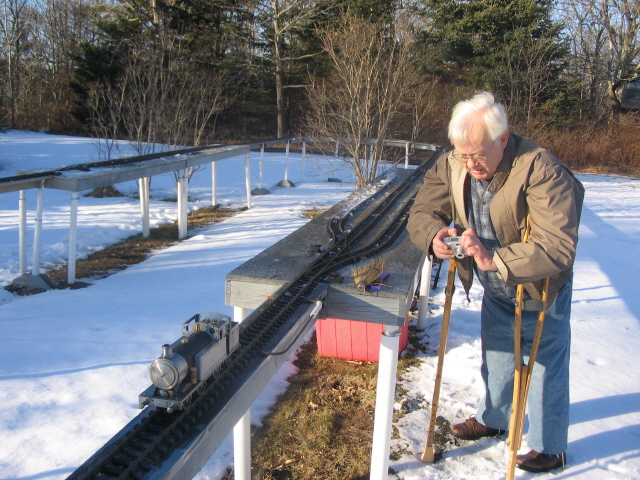
Of course, with the loco ready to run we hit a streak of lousy weather, but on Wednesday , Feb 1, it cleared and we had a bright, sunny, but cold, day. I took Mona to The Downeast Light Railway at my friend, Don Jackson, and we had the first run.

The run was great, but after about 4 or 5 laps of the track the burner started to weaken, apparently due to low gas pressure, as expected in such cold.

I also had trouble with the curves- Mona is long, and hard running in the curves.

Here is a video of the first run

I did a second run on Saturday, February 4. This time I loosened up the crank pins and the loco was a bit eaiser around the curves, but still will not run freely. We decided I need more side slip in the front and rear axels, and maybe a jointed coupling rod.

Painting and Final Assembly

The LBSC plan calls for the wheel bearings to be flanged into the side frames, and the wheels pressed on after the frame was assembled. This would make any repair, or painting, require pressing off the wheels and re-quarter them to replace.

I decided to mount the bushes from inside the frames, and slot the frames the width of the axle so the entire wheel and axel could be removed. I cut a groove in the axel and inserted E-clips to hold the bushes. This worked OK, but it was a rather sloppy, and the bushes were rotating in the frames. There was limited side slip which was causing the binding on curves.

This shows my new bearing keepers, a machined steel block. I installed these as I was re-assembling after the painting. They are held on by screws inserted through the driver spokes. This makes a much neater assembly and the beearings are now tight to the frame side, and allow the maximum of side slip.

Reassembly underway with everyting painted. I used automotive engine paint, and 'toasted' it. I have an old electric toaster oven, in which I hung the painted parts. I set it on toast- both the top and bottom heating elements were energized. I placed a thermocouple in the oven and as soon as the temperature reached 350 degrees F I switched off the power and let the items cool. The paint seemed to shine more and appears harder after this baking.

All assembled and painted, but still needing some lining and trim details. I had a lot of trouble finding an Apple Green paint, but finally found it at Lowes in an accent color. It was a satin finish, so I sprayed a clear coat over it. It seems to be a good hard finish.

Next page