He also had 3 stepper motors he had purchased from Camtronics. These are NEMA size 34 motors of about 500 in-oz torque. These are probably larger than this machine needs, but they are working fine.
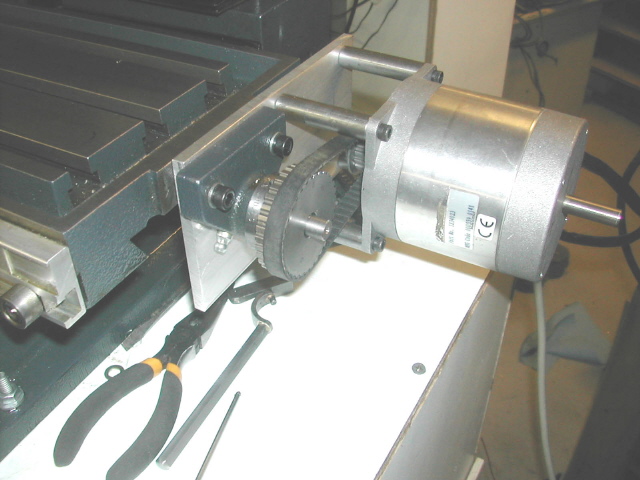
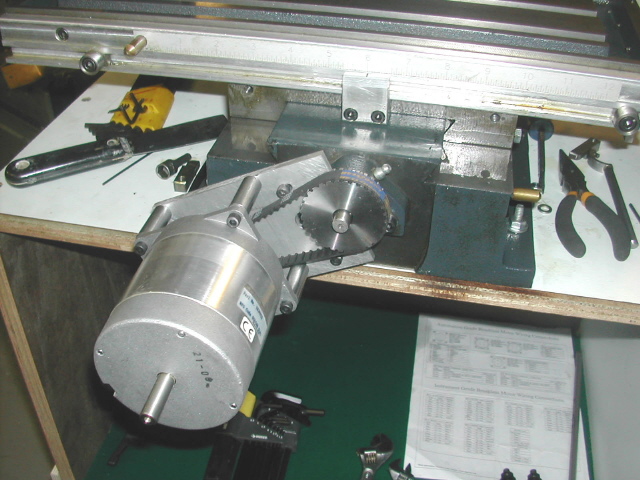
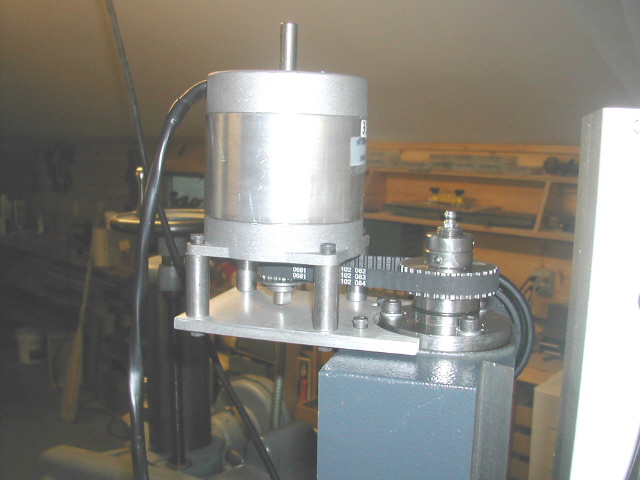
I decided to mount the motors using a 2:1 pulley ratio with toothed drive belts. Each lead screw has nice ball thrust bearings installed. There is a solid collar pinned to the screw that held the calibrated dials. Since I wouldn't need these I removed them and placed the pulleys in their place. This required boring out the pulleys to fit the lead screw shaft and drilling a cross pin hole in the pulley. The threaded bearing pre-load nuts were unaffected by this. Its also a simple one to reverse if I ever decided to return the machine to manual use, as I made no changes to the lead screws.
The necessary brackets and stand-offs are simple parts to make and install. I elongated the screw holes so the motor could be shifted to tighten the belts, but since that only gives a small change it was necessary to make the layouts quite accurate.
Here are photos of the three motors and their mounts.
For the controls I used Gecko drivers with Mach2 software.
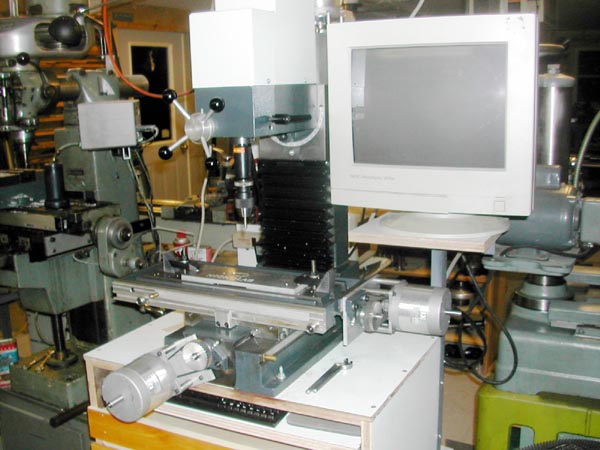
The mill is mounted on a stand, with the PC in and power supply on the back. I tried to make the
whole package as neat as possible. Here is a photo of the whole machine ready to run.
To eliminate the lead screw backlash I decided to use Moglice. This is an epoxy resin filled with some slippery substance. The stuff seems to to amazing. I made new nuts to the same profile as the existing nuts, but I bored out a larger hole than the leadscrew. I also made some collars to hold the leadscrew centered in the nuts while the Moglice cured. For a very detailed step by step procedure for doing this kind of leadscrew see HOME SHOP MACHIIST magazine for Jan/Feb 2004. The nuts seem to be working fine- I have almost no measureable backlash, and what is there seems to be in the thrust bearings.
I just finished this work in early February 2004. Ill try to post some more info when I get some time on the machine.
A more important change was to fix the drive motor. The factory motor is a big, noisy, open frame 240 volt motor. The US Importer mounts a transformer on top of the head to get the 240 volts. I removed that transformer and wired the motor direct to 240 volt.
But the motor was still noisly, the control box was a rats nest of wires, almost impossible to reach in to unplug if you wanted to open the box, and the motor was slow- max spindle speed was just over 2000 rpm. Because I use this machine to do small parts I wanted it to go faster.
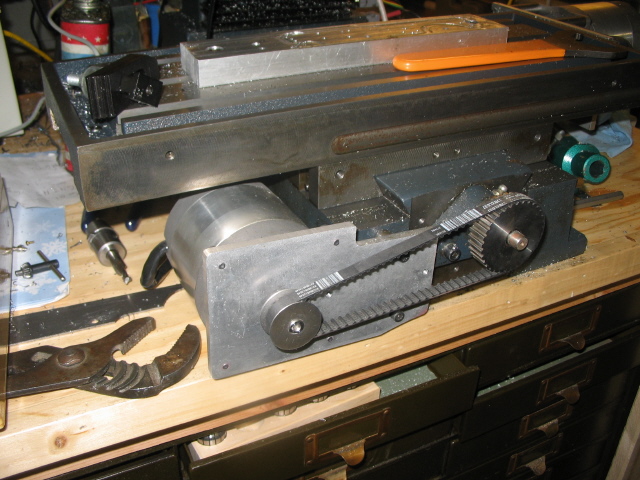
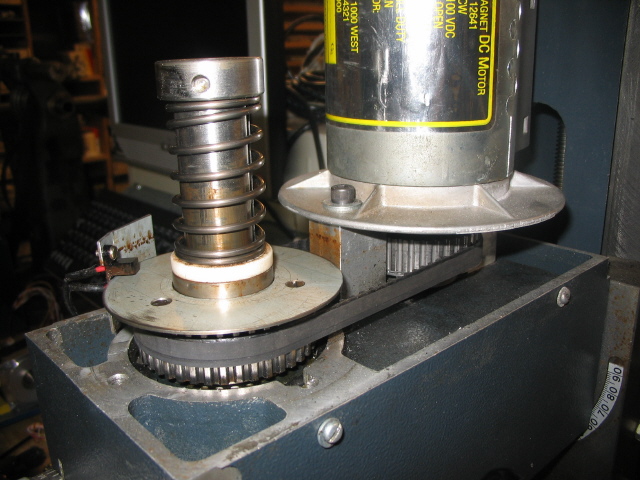
I replaced the motor with a DC 'treadmill' motor bought surplus. I also changed the pulley ratio to 1:1. I had to use anarrower drive belt for this, and I worry it will break, but I now have several hours of use and its still running fine. I also added a disk with a hole and an optical switch as a speed sensor. This is read my Mach3 software and provides an RPM display.
I mounted the speed control in a metal box on the back of the column. I think its a much more tidy ppackage now. I have done several small jobs with 1/8" and 1/16" cutters at over 4000 rpm and it works well.
I really ought to make some belt guards one of these days, but for now I'm using the machine and making real parts with it.